
Anniversaries and Snow

Next month, my husband and I will be celebrating our four years of wedded bliss. Because of his work schedule, we had to squeeze a vacation in a month early. No complaining here! We had been planning for a while, and finally decided on dates and lodging. After getting everything for our stay booked, we focused on plane tickets. Boy, those can get pricey!

After much contemplation, we chose to drive the thirteen hours up to the beautiful Rocky Mountains in Colorado. The drive there wasn't so bad. The views were spectacular and my husband and I traded off every few hours so we didn't get burned out too quickly.


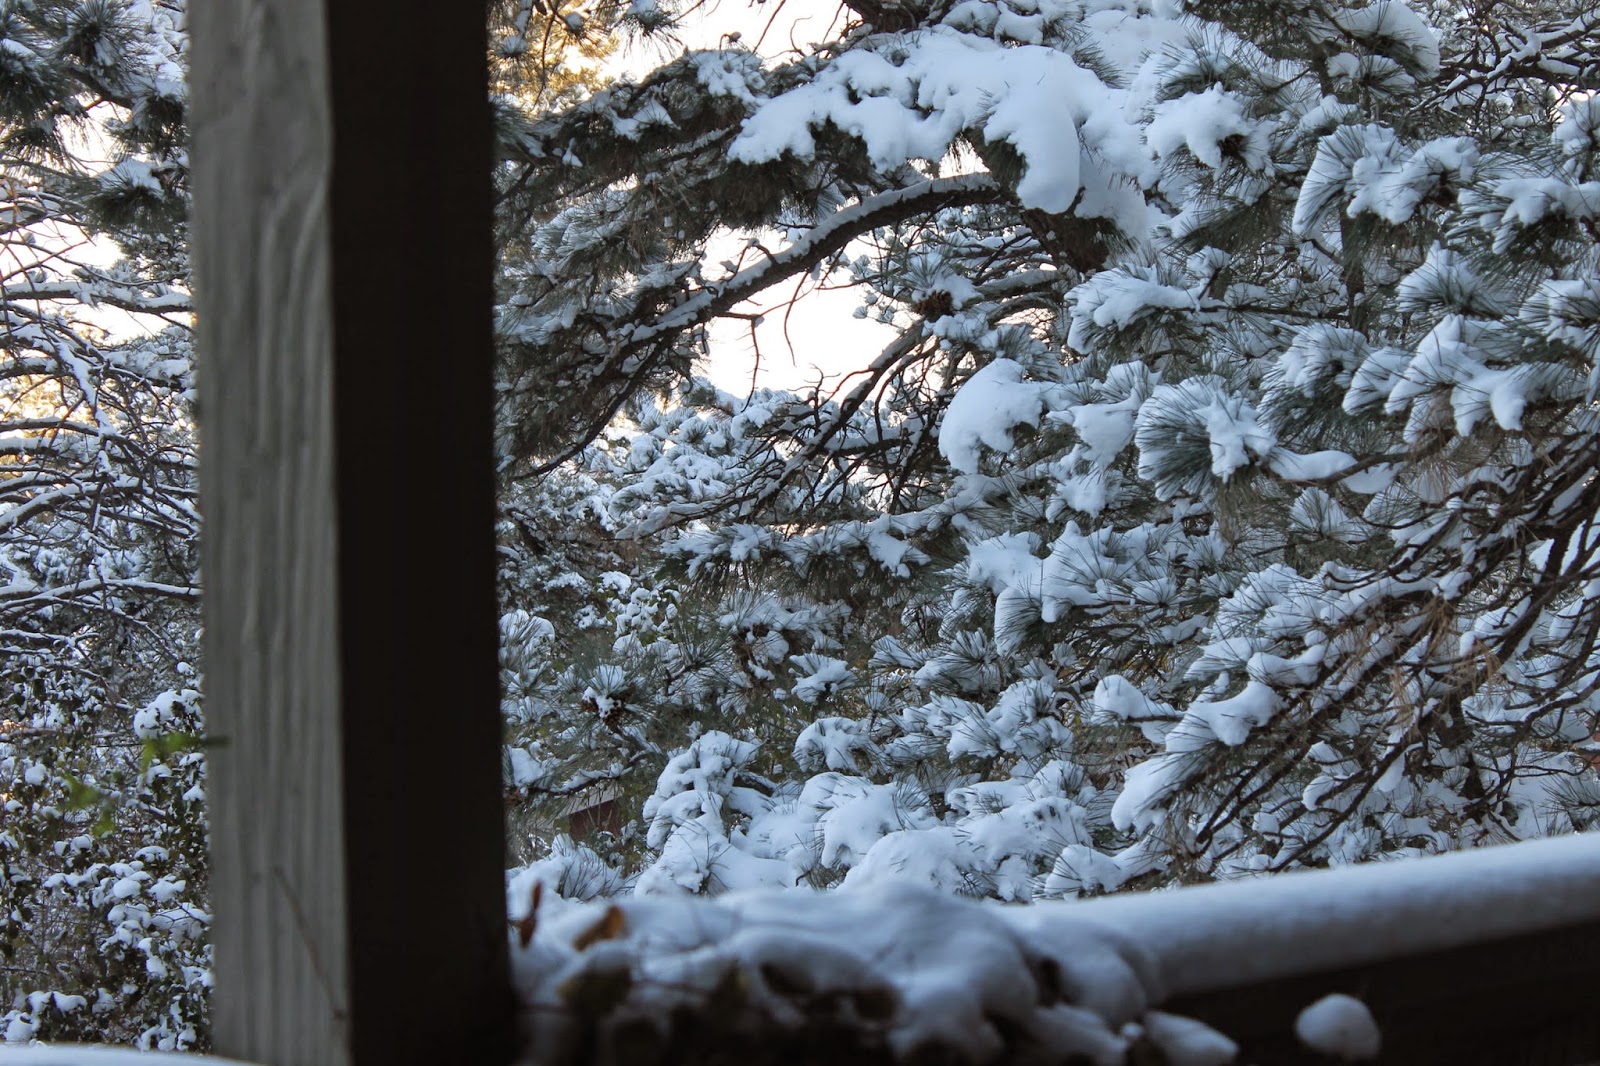
I am so jealous of those with this view every day! We left very early in the morning. By 3:30 AM, we were on the road. After a few trade offs, some stops for refueling and food, and a Walmart stop, we made it to the cabin at 6:30. The cabin we had chosen was nestled in the Rocky Mountains, and honestly, was terrifying to get to in the dark, but boy were the views perfect. 

The weather was a little crazy, so we weren't able to do as much as we had hoped, but the trip could not have gone any better. My husband and I were able to spend some quality time nestled into beautiful scenery. We were able to drive and see the scenery, get a couples massage, have an anniversary lunch, grill steaks, visit the Horsetooth Trails, and relax in the hot tub. By the end of the trip, I didn't want to leave!
Unfortunately, the trip back was nerve-wracking. Of all of the weekends that it could have been on, a freak ice storm decided to rain on our parade. Halfway through our trip, the roads were pure ice. Not snow and ice, just ice. We were gliding here and there, and for miles, we had to slow down to 20 mph. The trip back took sixteen, yes SIXTEEN, hours. Needless to say, that nigh was the best sleep I have gotten in a while.

We will still be doing something on our anniversary day, but nothing extravagant. Without further adieu, pictures from our trip!


Comments

Popular posts from this blog

IKEA Hack/LATT Table and Chairs Turned Storage Table

* This post contains affiliate links, which means that if you click on one of the product links, I’ll receive compensation at no added cost to you.  UPDATE: Make sure you put some sort of soft close adapter or hinge that would allow for the table top to not fall too fast or fall at all! Little A had a mishap with the table top falling down and hit underneath his eye. My poor little fellow. So, please learn from my mistake! When Little A was about a year old, we purchased him an IKEA LATT table so that he would have his own table to read, draw and pretty much learn on. That thing has been through so many stages of his life. He has eaten on it, subsequently doused in water  painted on, colored on and just plain had fun on. Recently, it started to become very, for lack of a better word, sad . The particle board top was bubbling up and would not get clean, the legs, sides and chairs had paint and color marks, and the whole table had seen better days. Big A wanted to t

KALLAX Hack/Painting IKEA furniture

* This post contains affiliate links, which means that if you click on one of the product links, I’ll receive compensation at no added cost to you.  Oh boy! It's been over a year since the last time that I updated here. A lot has happened throughout that year. We recently moved into a townhome style community and my husband and I both started new jobs. We aren't the only ones changing it seems though. IKEA seems to be spitting out new products, and almost identicals of older products. A few months ago, Big A, Little A and I visited our closest IKEA in search of the EXPEDIT. When we walked into the self-serve area, were we surprised to see not only the EXPEDIT but an almost identical unit. This new unit, the KALLAX, was slightly cheaper, but seemed to be the long lost twin of the EXPEDIT. Seeing as it was cheaper, we went ahead and purchased the KALLAX. Let me just say, it is definitely worth the buy! You see, since moving, we got rid of our TV stand that was unfortuna

Closet to Reading Nook Transformation

My dear ol' mother has a home studio for her photography business. It is pretty impressive how she created a business space from two separate rooms. In her waiting room, she wanted to add a space just for children without taking up too much room. She had a cluttered closet that was overflowing with things that had no place in the house. My mother came up with the idea of a reading nook after completely cleaning out the closet. Once it was bare, she was able to see the potential. Before the conversion of the closet, the only distraction she had for the children of her clients was a small basket filled with toys hidden underneath a chair. Needless to say, there was not much for children in the room. Unfortunately, we don't have any cluttered before pictures of the closet to show you, so you'll just have to take my word for it! It was M-E-S-S-Y! It was almost unusable as a closet, more like a hoarder's paradise! There were shelves attached to the walls that she removed